
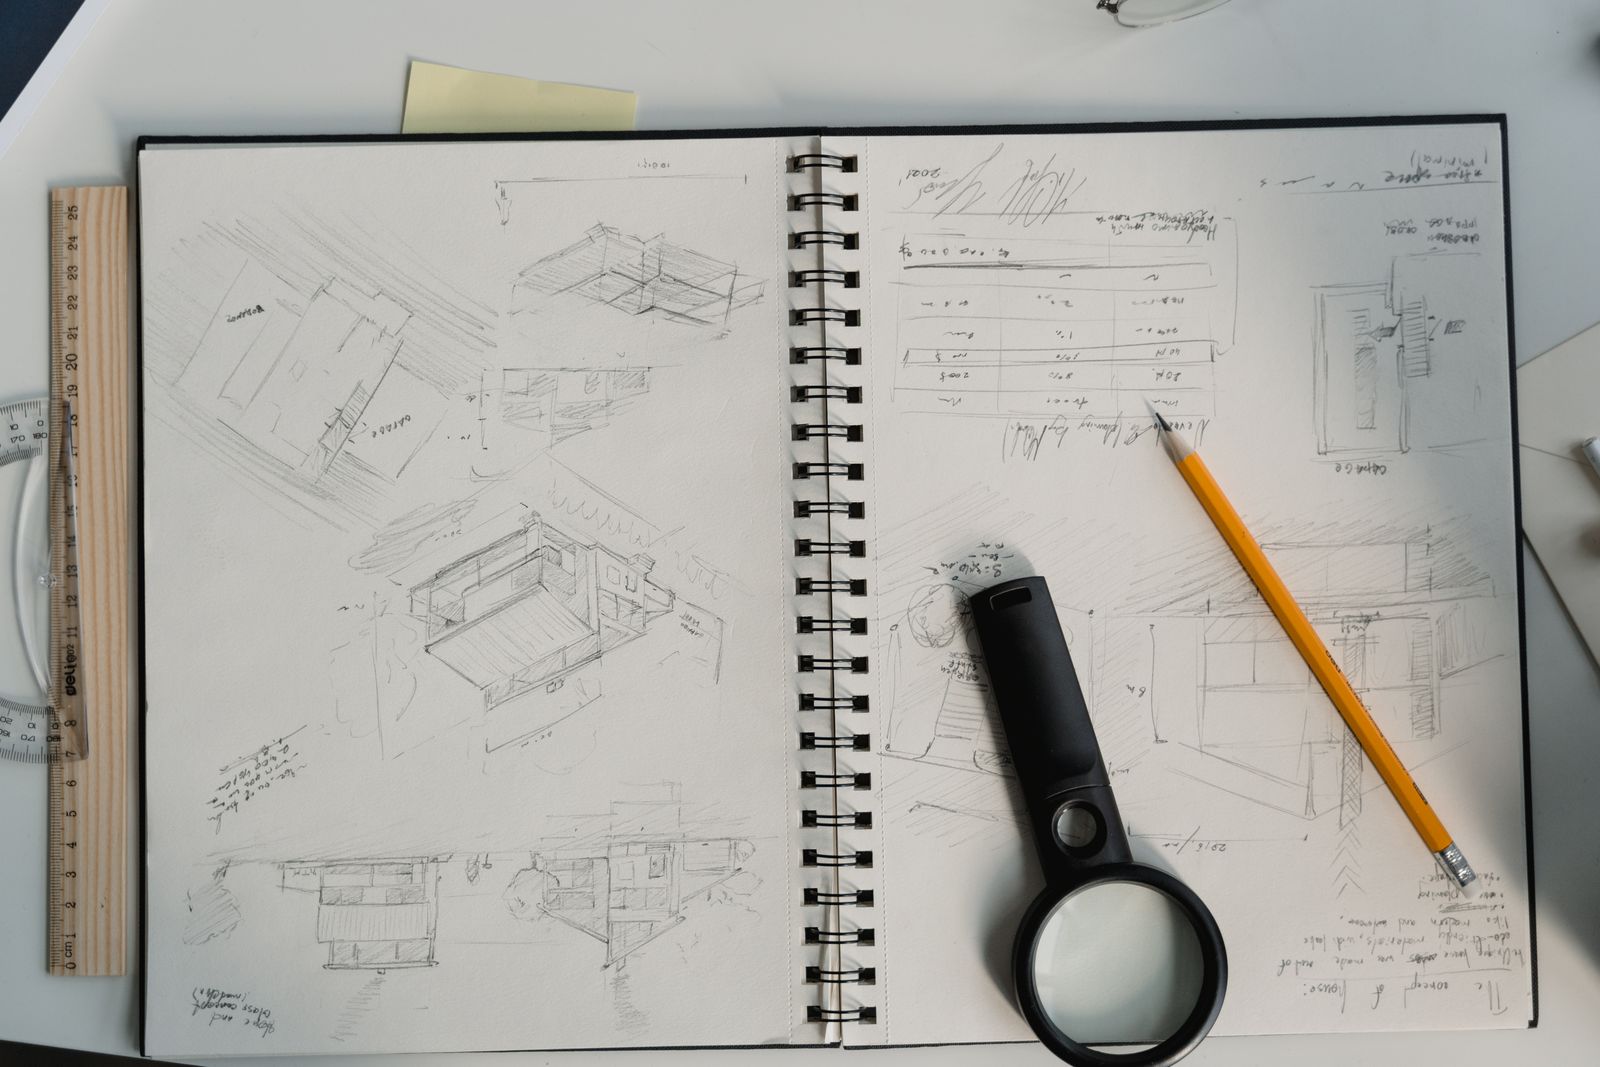
A first ArchiCAD room drawing should help you connect the brief, model and drawing view. Keep the exercise small enough to understand: one simple room, a few fixed features and a clearly labelled output. Accuracy and organisation matter more than producing a large file quickly.
This is a version-independent learning workflow, not a command-by-command manual. Tool names and interface arrangements can vary. Use official guidance for the version confirmed by your trainer.
Prepare a simple practice brief
For an illustrative exercise, use a rectangular room with internal dimensions of 4 m by 3 m. Record a door, a window and the intended room use. Choose the remaining dimensions as explicit practice assumptions with the trainer; do not present them as construction requirements.
Keep the distinction between internal clear dimensions and wall-reference geometry visible. A model can look correct while the space measured between its internal faces differs from the intended brief.
Check units and project organisation
Start with the appropriate template and confirm units before drawing. Name the file and save it in your project folder. Identify the relevant storey and the limited model elements required for the task.
Keep a separate list of assumptions. If you use a supplied base file, note its source and which information you have checked. Do not treat an imported background as dimensionally reliable without verification.
Build the room shell deliberately
Use the appropriate wall and other model tools for the exercise. Enter dimensions rather than estimating size visually. Check reference positions and joins, then review the space in both a plan view and a suitable three-dimensional view.
Add the practice opening elements and verify their locations against the brief. Inspect more than one view so a display setting does not conceal a modelling error.
Add information that explains the room
Use clear labels and dimensions appropriate to the exercise. Dimension the features that another person needs to understand, avoiding a crowded drawing with duplicated or conflicting information.
Check that the drawing’s dimensions agree with the intended internal space. If you make a model change, review the associated views and annotations rather than assuming every part of the presentation remains correct.
Use a review sheet
| Check | Evidence to show |
|---|---|
| Units | Project setting and readable dimension labels |
| Room geometry | Checked internal dimensions |
| Openings | Position and relevant sizes |
| Model consistency | Plan and 3D view describing the same room |
| Presentation | Legible title, notes and exported drawing |
Export and inspect the actual output
Choose a view or layout appropriate to the task and export in the agreed format. Open the exported file separately. Check text, linework, cropping and scale information where applicable. Saving the project file is different from producing a readable presentation.
Record trainer feedback and save a corrected version. Keep the first attempt so you can explain which modelling or documentation issue was resolved.
Continue with official learning resources
Graphisoft’s starter-course guidance points beginners towards foundation learning in modelling and documentation. Confirm access terms and version suitability directly.
Review the ArchiCAD and SketchUp comparison and laptop preparation guide before expanding the exercise into a full digital room proposal.
Practise with Ujenzi College
Explore Interior Design Software and AI for the current course scope, tuition and preparation requirements. Ask admissions about the next class.