
A beginner’s gypsum tool list should explain what each item does and which installation system it belongs to. Buying a collection of tools without understanding the layout, boards and framing can lead to unnecessary spending and unsuitable materials.
Use this guide to prepare questions for practical training. The exact tools, component sizes and fixing requirements must follow the selected system, project specification and trainer’s instructions.
Measuring and setting-out tools
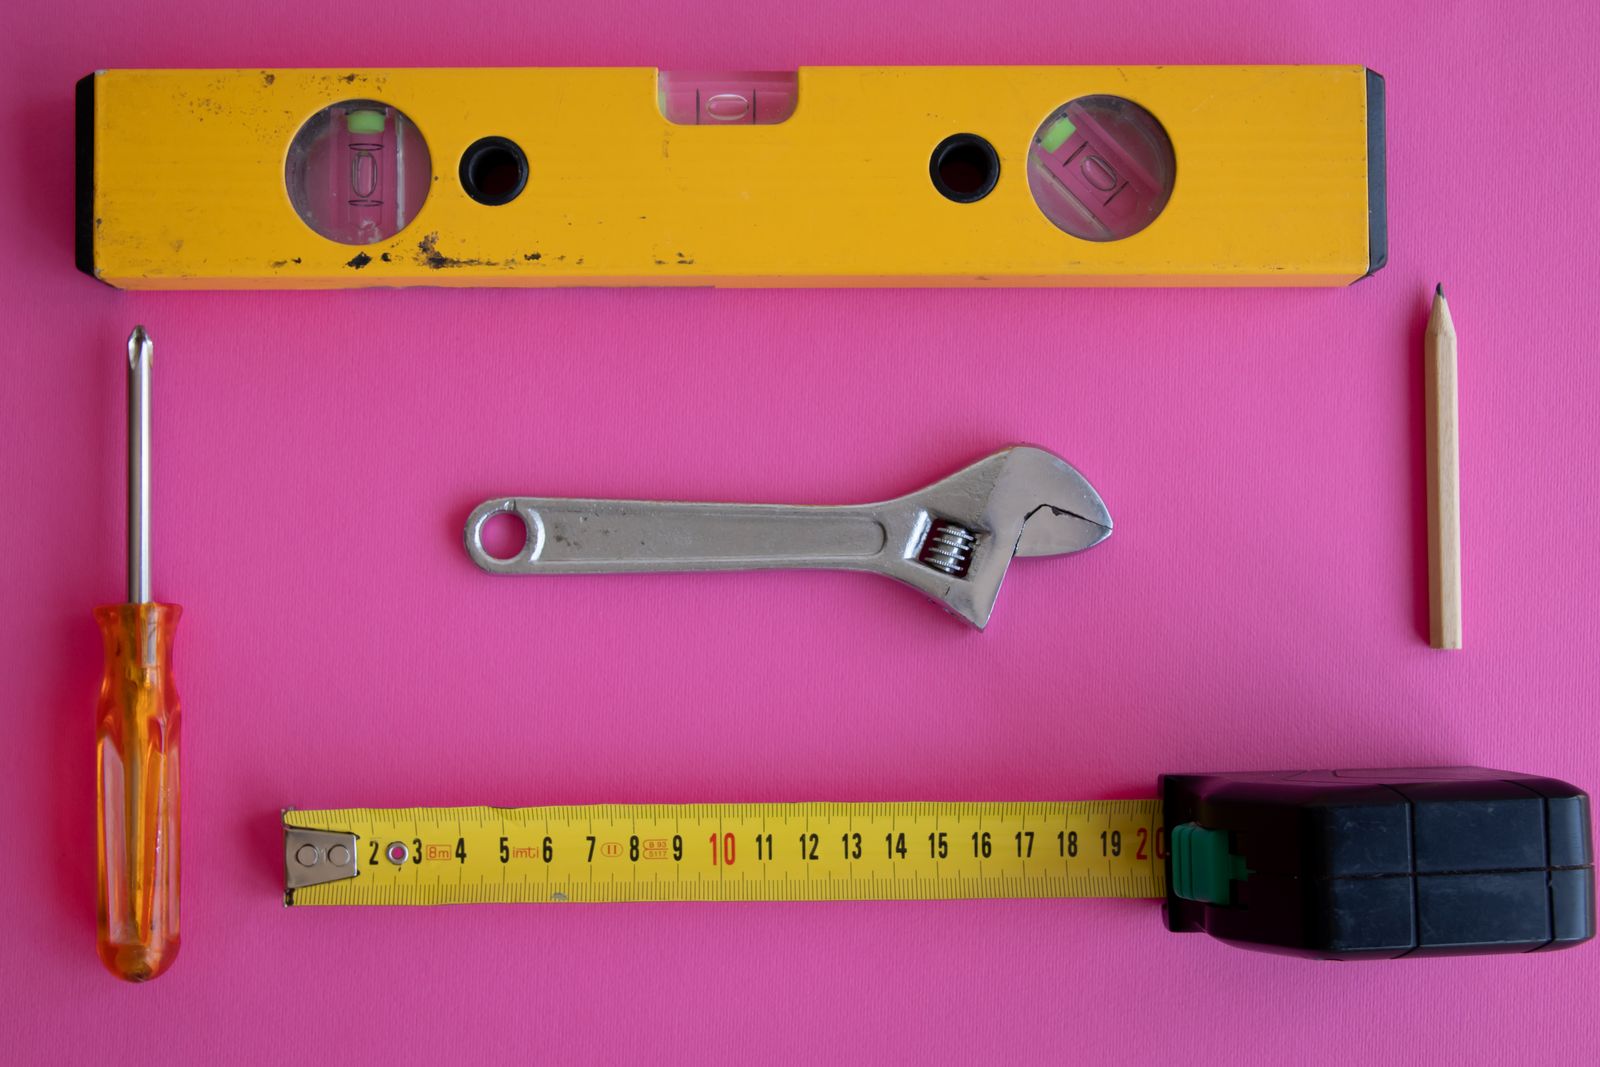
A tape measure, marking pencil and appropriate levelling equipment help translate the intended layout into checked reference marks. A straightedge or square helps assess lines and cuts. Learn to read the tool correctly and check measurements before moving to the next stage.
For a practice exercise, record dimensions on a sketch rather than keeping them in memory. Mark the units. If two measurements conflict, resolve the difference before cutting or fixing a component.
Cutting and shaping tools
Boards and framing may require different cutting methods. Use tools intended for the actual material, and learn controlled handling under supervision. A cutting tool suitable for board is not automatically suitable for metal framing.
Keep blades and sharp edges away from unprotected hands and other people. Organise offcuts and dust so they do not become trip or handling hazards. The trainer should explain the appropriate protective equipment and controls for each activity.
Fixing equipment
Fixing work requires a suitable driver or other specified equipment, compatible fixings and an understanding of the required result. Tool speed alone does not demonstrate a good fixing. Learners need to recognise damage, poor seating and other conditions that require correction.
Do not choose screws or anchors only by appearance. The supporting material, selected system and intended duty determine the requirements. Ceiling suspension and structural anchorage are not details to improvise from a general online shopping list.
Boards and framing components
Identify the lining boards, framing members and accessories specified for the exercise. Check labels and manufacturer information rather than assuming all boards are interchangeable. Performance claims depend on the complete assembly and the conditions in which it is used.
Storage and handling matter. Protect products from conditions that can damage them and follow the supplier’s handling instructions. A damaged component can affect the work before installation begins.
Jointing and finishing materials
Compatible tape or reinforcement, jointing compound and corner treatments form part of the finishing process. Mixing products without checking compatibility can undermine the result. Drying, setting and application requirements should be taken from the relevant product guidance.
British Gypsum’s jointing product information is an example of manufacturer guidance explaining the role of its reinforcement, edge protection and preparation products. Use the documentation for the system actually selected for your work.
Before you buy: make a training checklist
- Which exercise will I complete, and which system will we use?
- Which tools will the college provide?
- Which personal protective equipment must I bring?
- Are boards, framing, fixings and consumables included?
- What can I borrow or share during supervised practice?
- Which items are worth buying only after I understand the technique?
Keep protective equipment, tools, consumables and materials as separate lines in your budget. Ask for confirmed quantities instead of purchasing from a generic list.
Practise with guidance
Ujenzi’s Gypsum Ceilings and Partitioning course introduces components and supervised practical work over three weeks at KES 16,000. Enquire about the next class and confirm the equipment and material arrangements before buying anything.