
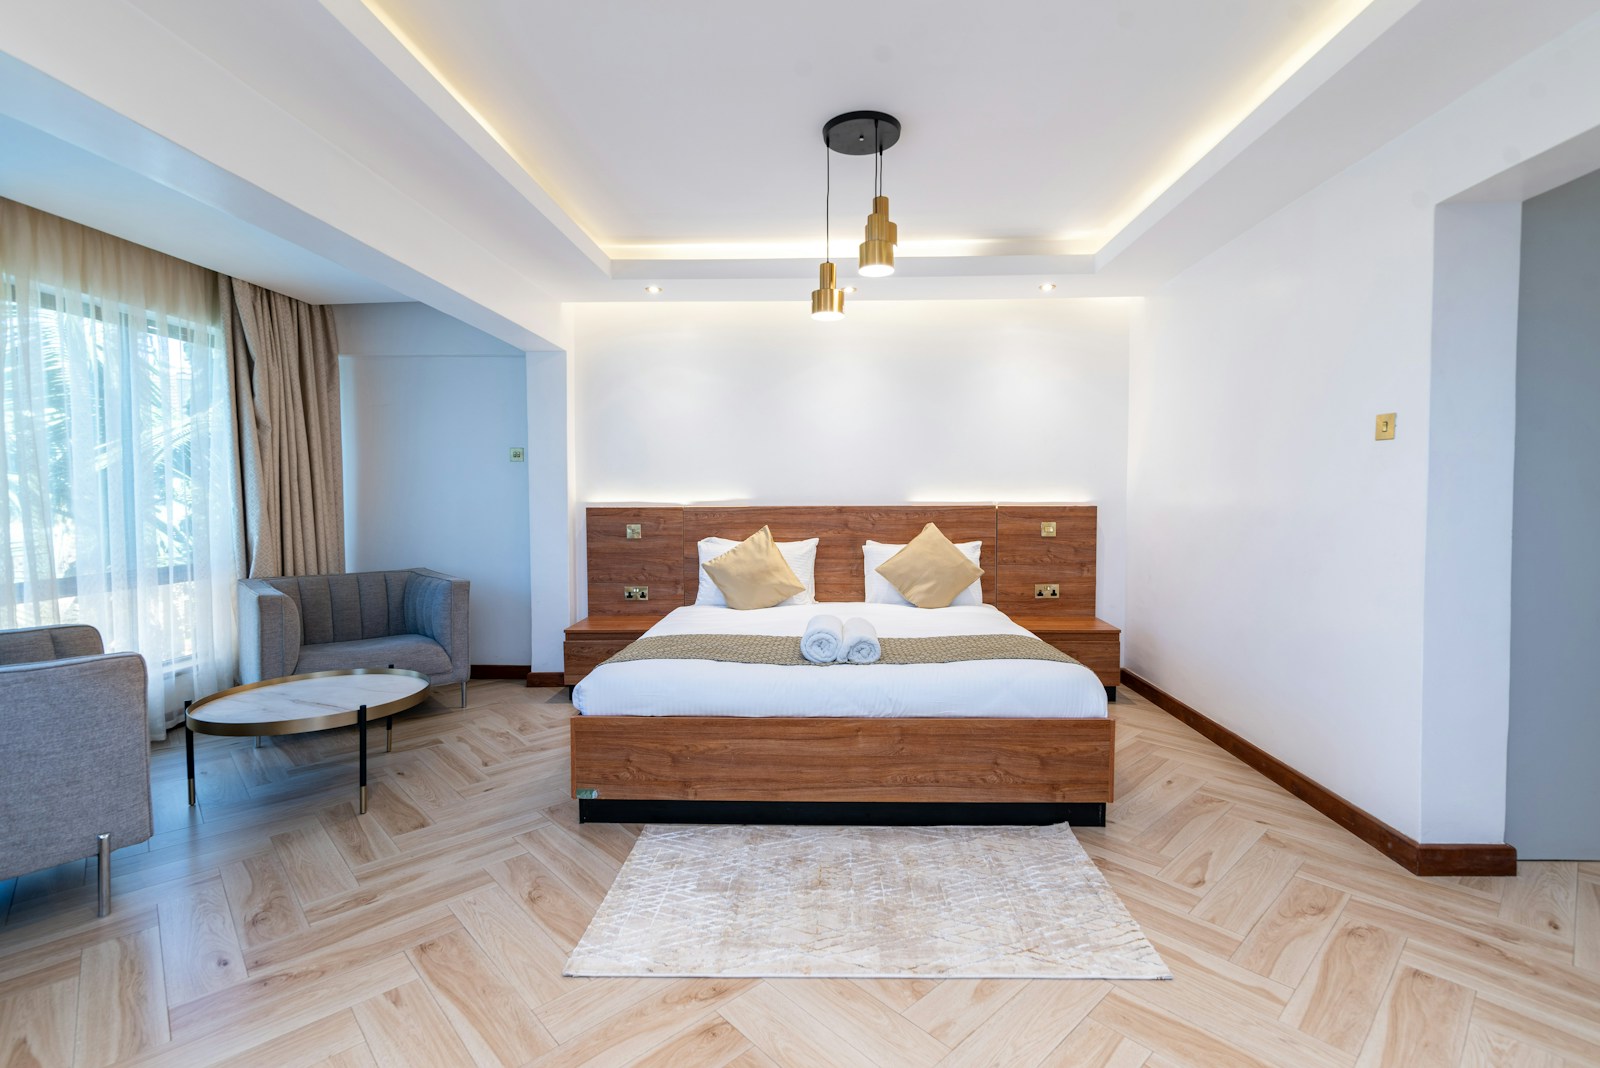
Interior rendering helps communicate how a proposed room might look. A useful render explains the design without suggesting that unverified details are already resolved. For beginners, the most important habit is to check the model and brief before adjusting visual effects.
This guide describes a general workflow. Renderer features, licences and hardware requirements differ, so confirm the actual tools used in your class rather than assuming a particular application is included.
Start with a model review
Check room dimensions, openings, main furniture and object positions. Look for missing surfaces, unintended intersections and incorrect scale. A polished image can make these problems less obvious, but it does not remove them.
Decide what the model represents. Is it a concept exercise, a measured proposal or a view of a specified product arrangement? The presentation label should match the information you have actually checked.
Keep materials organised
Use meaningful material names and a limited palette while learning. Review the visible scale and direction of textures. A material that looks appropriate in a small swatch can appear oversized or repetitive across a wall.
Keep product evidence separate from appearance settings. A timber-like texture does not establish species, finish, durability or supplier availability. Connect any actual selection to the relevant specification and sample record.
Choose the view before refining detail
Ask what the image needs to explain. An overall view may show the relationship between activities, while a closer view can communicate a material junction or feature. Avoid extreme camera positions that exaggerate room size or conceal important constraints.
Compare the view with the plan. If the render appears spacious but the furniture arrangement blocks access, return to the layout rather than relying on the image to carry the proposal.
Use controlled lighting tests
Keep the camera and main materials consistent while changing one lighting variable. Review whether the result makes form and material relationships understandable. Dramatic contrast is not always useful for judging a room.
Rendered lighting is a visualisation, not evidence of measured light levels or an electrical design. If lighting performance matters to the project, involve the appropriate specialist and use the required assessment method.
Keep a test log
| Version | Change | What you learned |
|---|---|---|
| Test A | Initial camera and simple materials | Record geometry and composition issues |
| Test B | One lighting adjustment | Record its effect without changing the layout |
| Test C | One material refinement | Compare with the physical sample or intended reference |
| Selected view | Agreed presentation version | List remaining assumptions |
Inspect the exported image
Open the final output outside the rendering application. Check cropping, text labels, image quality and unintended details. Keep the project file and the exported image together with a clear version name.
If AI contributes to a visual, label it and review geometry, materials and products against the underlying proposal. Do not present generated details as confirmed construction information.
Present the render with evidence
Pair the image with a plan, material direction and short explanation. State which items are selected products and which remain illustrative. This makes the image useful to someone trying to understand the project.
Read the AI concept guide and mood-board guide to keep visual exploration connected to decisions you can explain.
Practise with Ujenzi College
Explore Interior Design Software and AI for the current course scope, tuition and preparation requirements. Ask admissions about the next class.