
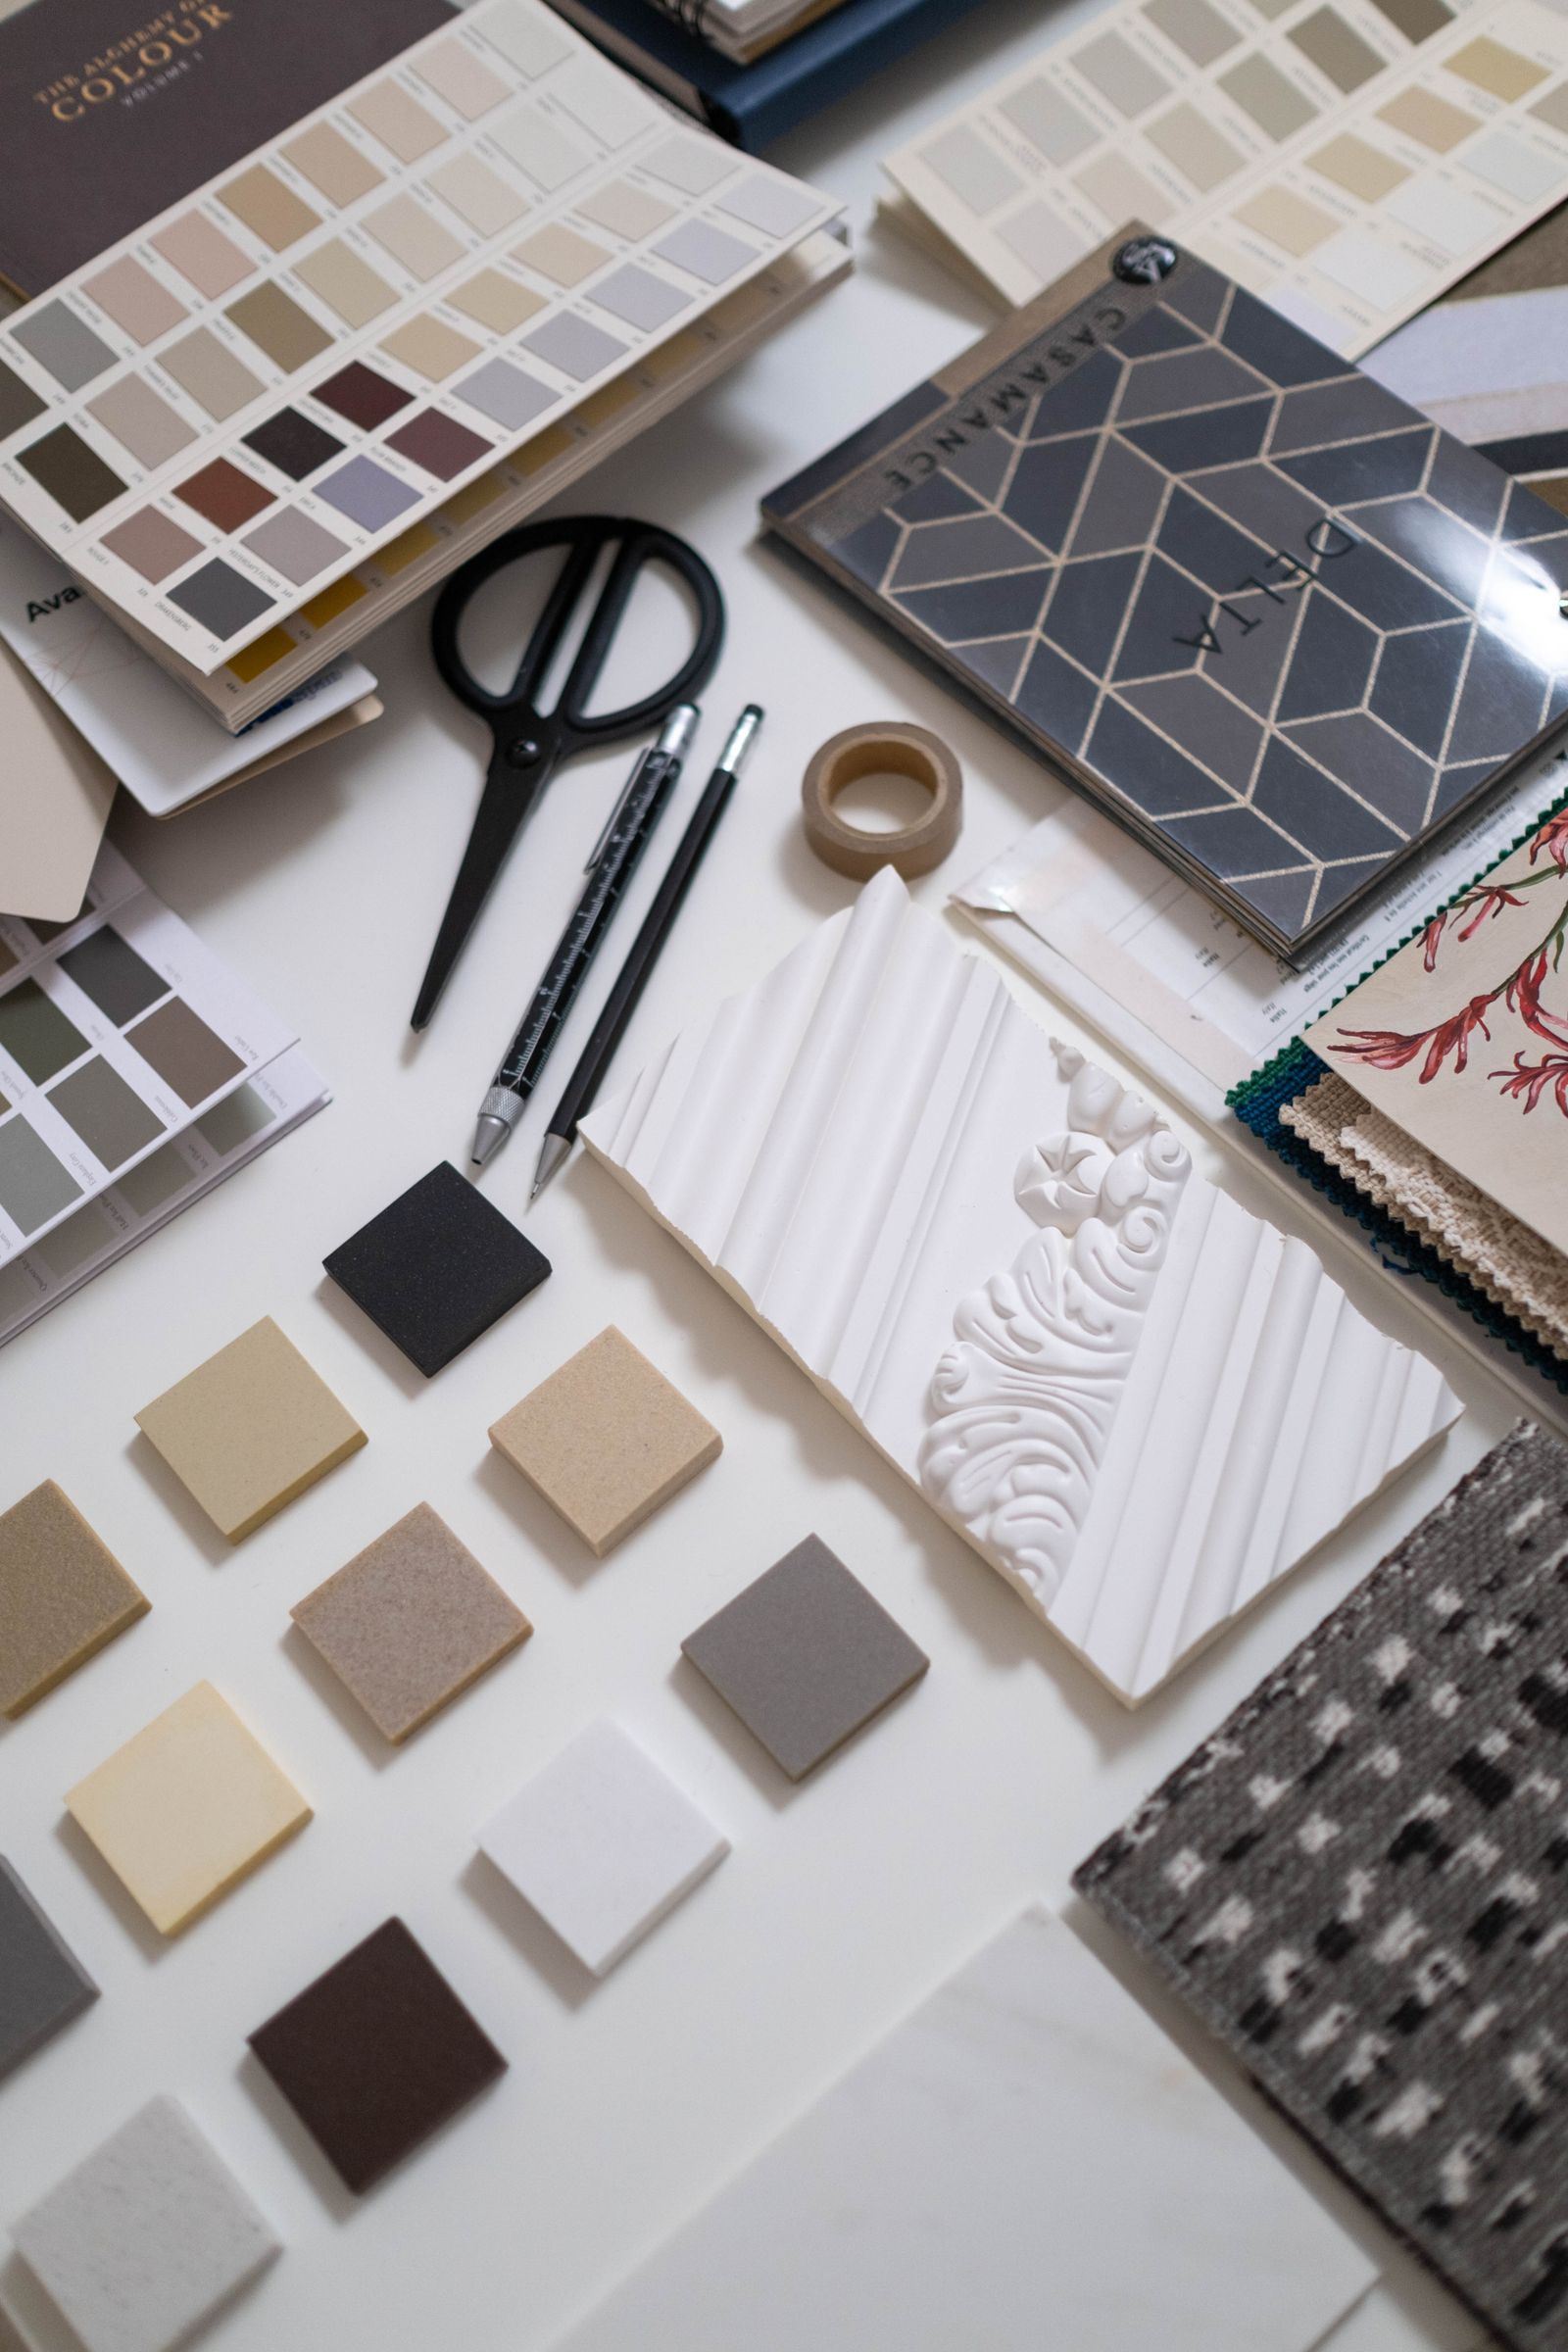
An interior design mood board communicates the visual direction of a room before you commit to purchases. It brings together colours, materials, textures and reference images so another person can understand the atmosphere you want to create.
A useful board is edited rather than crowded. It should help you make decisions for a particular room and user. A page full of beautiful images becomes a design tool when you explain what each reference contributes.
Begin with three words and a clear brief
Choose three descriptive words that relate to the room’s purpose, such as “calm, durable, welcoming.” Then write the practical constraints: existing furniture, daylight, budget, maintenance needs and landlord restrictions where relevant.
For example, a compact rented living room in Nairobi might keep its existing sofa and floor tiles. The mood board should respond to those fixed colours and textures. Selecting an entirely different interior as inspiration can create expectations the project cannot meet.
Gather references with a purpose
Look for examples of colour relationships, material combinations and details you can explain. One image might demonstrate a curtain texture; another might show a restrained contrast between a wall and timber furniture. You do not have to copy the entire room.
- Use images you own, have permission to use, or can use under the relevant licence.
- Keep the source link beside each reference in your working file.
- Separate inspiration images from actual products you intend to buy.
- Choose physical material and paint samples where possible.
- Remove references that contradict the brief.
If an AI image appears in your research, label it as a generated concept. It may show materials or products that do not exist and should not be treated as evidence of a buildable detail.
Build a simple visual hierarchy
Give the dominant material or colour the most visual space. Add a smaller selection of supporting textures and one restrained accent if the room needs it. Include the existing items that will remain so the board represents the actual project.
For a first exercise, a board might contain one main reference image, a small wall-colour selection, a curtain or upholstery sample, a timber reference and a short explanation. The goal is coherence, not a fixed number of pictures.
Test the materials together
Place physical samples beside each other in the intended room. Look at them in daylight and under the room’s evening lighting. A sample viewed in isolation can seem right and then clash with an existing floor or sofa.
Consider maintenance as well as appearance. Ask how a fabric is cleaned, where a finish can be used and whether the proposed product is available in the required quantity. Record supplier names and product references so you can verify them later.
Connect the mood board to the budget
Add a separate material or shopping schedule with the item, specification, quantity, supplier and price to confirm. Do not squeeze every cost into the visual board. The two documents should support one another while remaining easy to read.
If the budget changes, revise the board deliberately. Explain which quality you are retaining—perhaps texture or colour—and which material you are substituting. Substitution should respond to the design intention rather than simply choosing the cheapest item.
Present the board in a few sentences
Explain how the scheme supports the user, works with existing features and stays within the intended budget. Ask for feedback on the overall direction before discussing small accessories.
Interior Design Essentials at Ujenzi includes a mood board as part of a room proposal, alongside a measured layout and a basic shopping budget. Enquire about the next two-week course for guided practice and feedback.