
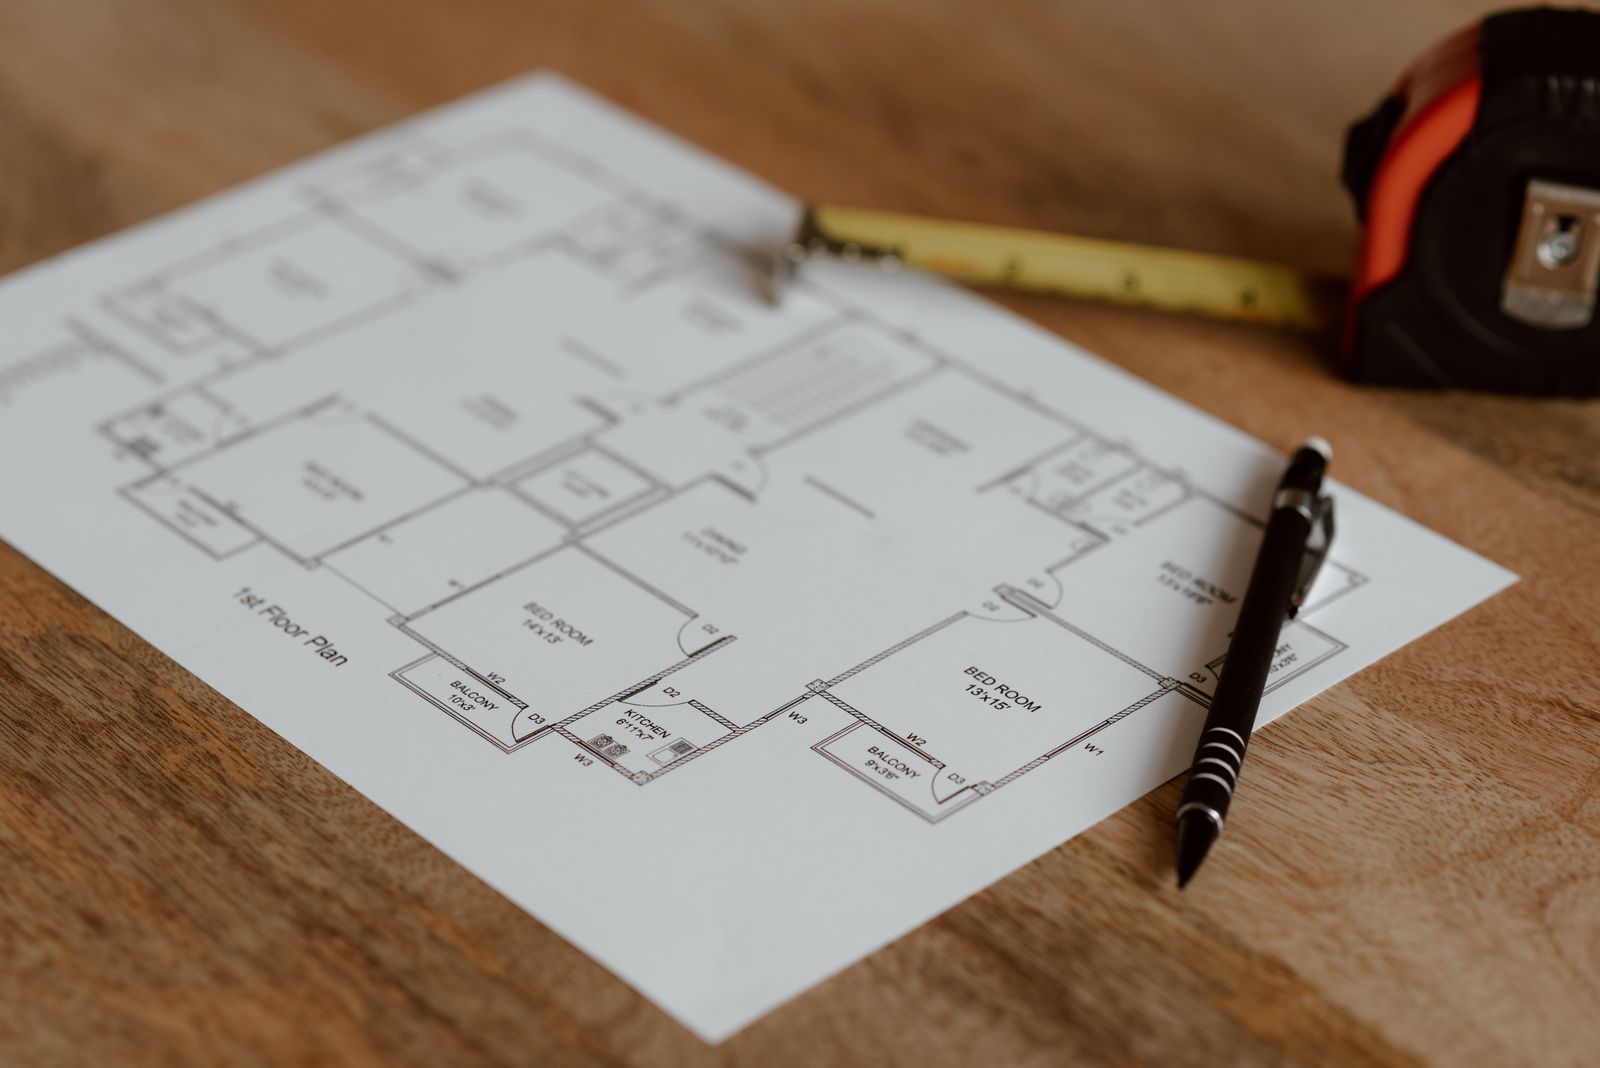
A room measurement worksheet helps you collect the information needed for a first layout. Use this guide to create a clear record of a room’s shape, openings, fixed features and existing furniture. Its purpose is to support a beginner design exercise; fitted products and construction work require appropriate verification before ordering or installation.
Work only where you have permission and safe access. Do not climb on furniture, remove fittings or disturb electrical, plumbing or other services to obtain a measurement.
Before you visit the room
Bring a tape measure, pencil, notebook and a way to record photographs with permission. Use measuring equipment you understand. Record the date, room name and units on the first page. Millimetres can be convenient for detailed records, but consistency matters more than switching between several units.
Ask which furniture must remain and whether any changes are restricted. Identify areas you cannot access. Mark those measurements as outstanding rather than estimating them and presenting them as verified.
Step 1: Draw and label the room
Make a rough plan showing the room perimeter. Label corners A, B, C and D for a simple four-sided room. Label additional corners if the room is irregular. Mark where the entrance is and number the photographs so they can be related back to the sketch.
The first sketch does not need to look polished. It needs enough space for readable dimensions and notes. A beautiful drawing with missing information is less useful than a clear working record.
Step 2: Record wall lengths and height
| Reference | Measurement | Notes or status |
|---|---|---|
| Wall A–B | Enter checked length and unit | Record obstructions or uncertainty |
| Wall B–C | Enter checked length and unit | Record obstructions or uncertainty |
| Wall C–D | Enter checked length and unit | Record obstructions or uncertainty |
| Wall D–A | Enter checked length and unit | Record obstructions or uncertainty |
| Floor to ceiling | Measure only with safe, appropriate access | Record changes of level if present |
Do not assume opposite walls match or corners are square. Cross-check the room using suitable additional measurements where needed. If the geometry does not reconcile, remeasure or obtain help rather than forcing it into a rectangular plan.
Step 3: Record openings and fixed features
| Item | Information to record |
|---|---|
| Door | Location from a labelled corner, opening size and direction of swing |
| Window | Location, opening dimensions and relevant sill position |
| Column or recess | Position and dimensions linked to the sketch |
| Built-in storage | Overall footprint, access and door movement |
| Power or other fixed point | Visible location for planning; do not open or test services |
| Other constraint | What it is, where it is and what needs further checking |
Give each opening or feature a reference such as D1 or W1. Record its position, not just its width. A window size without its location cannot be placed reliably on a room plan.
Step 4: Measure items that will remain
For each sofa, desk, bed or storage item, record overall width, depth and height where relevant. Consider moving parts: a cabinet footprint does not show the room needed to open its doors. Note the source of any supplied product dimensions and verify important details before purchasing.
Step 5: Check before leaving
Compare related measurements. In an illustrative record, a 4,000 mm wall might be recorded as 900 mm to an opening, a 1,200 mm opening and a remaining 1,900 mm section. These add to 4,000 mm. If your actual record does not reconcile, check the reference points and remeasure.
This arithmetic check does not prove that a room is square or that every measurement is correct. It is one useful way to catch omissions while you can still revisit the location.
Prepare your drawing and outstanding-items list
Transfer the verified information to a clean plan. Label units and distinguish checked dimensions from information still to confirm. Keep photographs, notes and the original sketch together. List who will resolve each outstanding item before any dependent decision is made.
Next, use the record to test a room layout. Interior Design Essentials at Ujenzi combines a measured layout, mood board and basic budget in one room proposal. Ask about the next class for guided practice.